Wednesday, October 1, 2014

Coconut Chocolate Chip Cookies


This has been and always will be my favorite chocolate chip cookie recipe.  Back in college, my friend Anya and I would make these and watch American Idol!  Every time I make these I think of her and Jordin Sparks.  I've made these so many times I can type up the recipe without even looking!

The original recipe doesn't call for coconut but my husband and I (okay really just me) are on a coconut streak so I threw some in the batter.  It just makes them that much more delicious.

Coconut Chocolate Chip Cookies

Ingredients:

This recipe is adapted from Betty Crocker.
1 cup of butter
3/4 cup of brown sugar
3/4 cup of white sugar
2 1/4 cups of flour
1 teaspoon vanilla
1 egg
1 teaspoon baking soda
1 teaspoon salt
2 cups of chocolate chips
1 cup of shredded coconut

Directions:

1.  Cream butter and sugars until fluffy.
2.  Add egg and vanilla and mix until just combined.
3.  Add flour, baking soda, and salt.  Mix until dough forms.
4.  Stir in chocolate chips and coconut.
5.  Roll dough into balls and place two inches apart on a flat baking sheet.  Bake at 375 for 8-10 minutes.  (8 minutes for small cookies, 10 minutes for bigger cookies).


You know that time during the day when no one is climbing on you, drooling on you, screaming for you?  Yeah, nap time.  It's nap time.  And all that's standing in between me and that stack of cookies is my camera.
  

I try just to eat one.  But then I eat two.


And sometimes...three.


Or the whole stack.


Okay, not the whole stack.  See the others hiding back there?  I'm saving those for bedtime.


Monday, September 29, 2014

Our Life Map {on Canvas}


My father-in-law was an Air Force meteorologist for 23 years.  He enlisted at 18 and over the course of his career was promoted to Senior Master Sergeant, the second highest an enlisted man can go.  We're so proud of him! 

Of course with a military life comes lots of moves.  My mother-in-law worked so hard to make every place they moved to a home.  Those who are military wives know exactly how hard it can be to do that!  Know that you're not alone, thousands have walked the same path before you and even more will follow in your footsteps. 

They created as many memories for Ryan and his sister as they could in each place that they lived.  Now that they have retired and settled down, my MIL wanted to pay tribute to each place that they lived, where they met and where their kids were born.  How special, huh?

First, she painted the edges of canvases in a color complimentary to her wall color.  Then she modge podged maps that she had torn from an old atlas.  She bought a package of little wooden arrows and people from her favorite craft store and painted them before gluing them on to the map.  The blue arrows represent the Air Force and the green represent the army.  (My MIL wore combat boots!  That's how she and my FIL met). Then she used stamping ink to smudge the edges of the map giving it a worn look.


What I love most about projects like this is that no one project will look the same. We all have different lives we have lived and paths we have walked as well as differerent decorating styles! Someone may choose to make this on pieces of wood or frame them in a shadow box. If you can't find an atlas, Barnes and Noble sells a ton of different maps in their travel section. 

Whether you use canvas, maps, stickers or wooden arrows, I hope you have fun making this project and remembering all the memories you have created each place you have lived! 

Where we've been, makes us who we are! 


Focaccia Bread Sticks


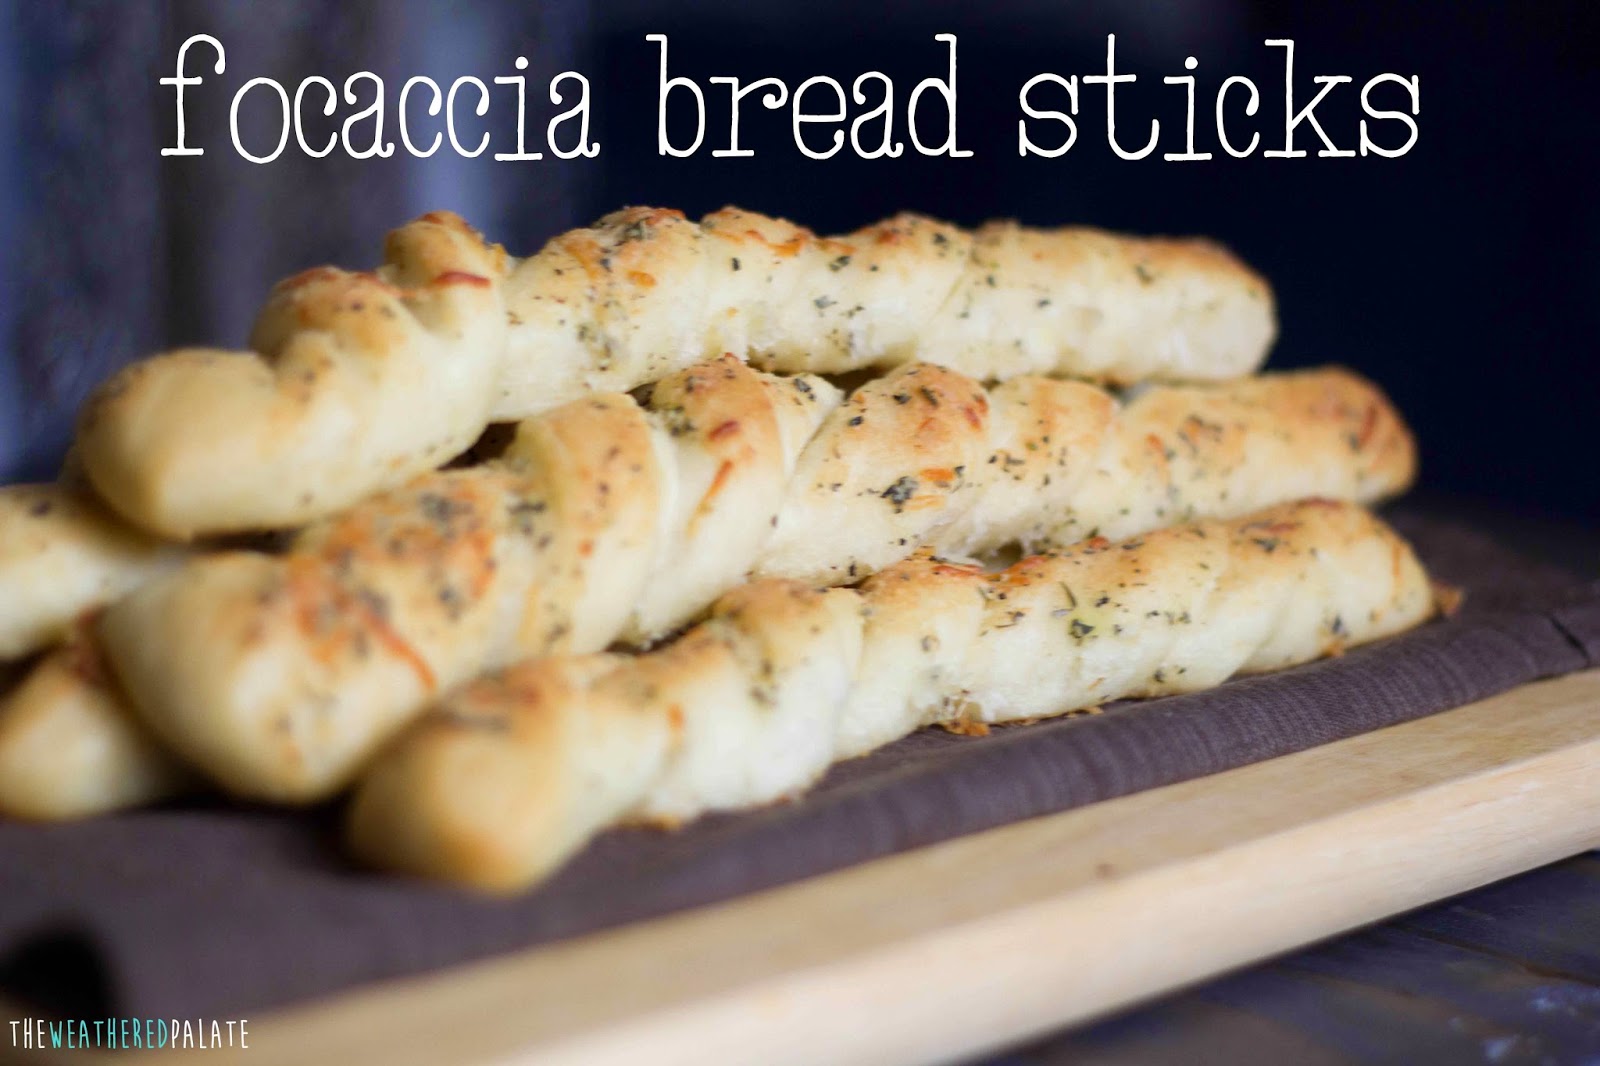
I can't believe I don't make these more often.  I mean, just look at them!  Perfectly golden and packed full of flavor all to be dipped in a delicious marinara or Tortellini Soup. Let's cut to the chase.  I don't need to keep talking about how incredible they are.  You just want the recipe.

Focaccia Bread Sticks

Ingredients:

3/4 c warm water
3 tablespoons of milk
3 cups of bread flour
3 1/2 tablespoons of sugar
1 teaspoon salt
3 tablespoons of melted butter
1 1/2 teaspoons instant dry yeast

Topping:
1/3 cup of olive oil
1/4 cup Parmesan cheese
1 tsp garlic
1 teaspoon Italian Seasoning

Directions:

This recipe yields 10-12 foot long bread sticks.

1.  In the bowl of a stand mixer, add water, yeast and sugar.  Stir to dissolve yeast and sugar and let sit until yeast activates (you will see the yeast foam and rise to the top-about 5 minutes).  If the water is too hot or cold, the yeast will not activate.
2.  Pour in one cup of flour, milk, butter and salt.  (Do not pour the hot butter and salt directly on top of yeast mixture.  Pour in the order stated.)  Mix for 1 minute.
3.  Slowly add remaining flour, scrape down the sides of the mixer mix with dough hook for 2-3 minutes.
4.  Dough should be soft and slightly sticky.
5.  In a greased bowl, put the dough and cover with plastic wrap and allow to rise in a warm area for 1 hour.
6.  After the dough has doubled in size, roll out out into rectangle (about 1/2 inch thick) and cut into 1 inch strips using pizza cutter.
7.  Take each strip and cut a slit down the middle one inch from the top and stopping one inch from the bottom (see pictures below).
8.  Twist each bread stick and place on a cooking sheet.  Cover and let rise for 20 minutes.
9.  Mix topping ingredients together and spread on top of bread sticks.
10.  Bake in a 400 degree over for 15 minutes.

Variations: top with olive oil, garlic and cheddar cheese for garlic cheddar bread sticks.


Slit each bread stick down the middle making it easier to twist.


They are like little Italian pillows of heaven.


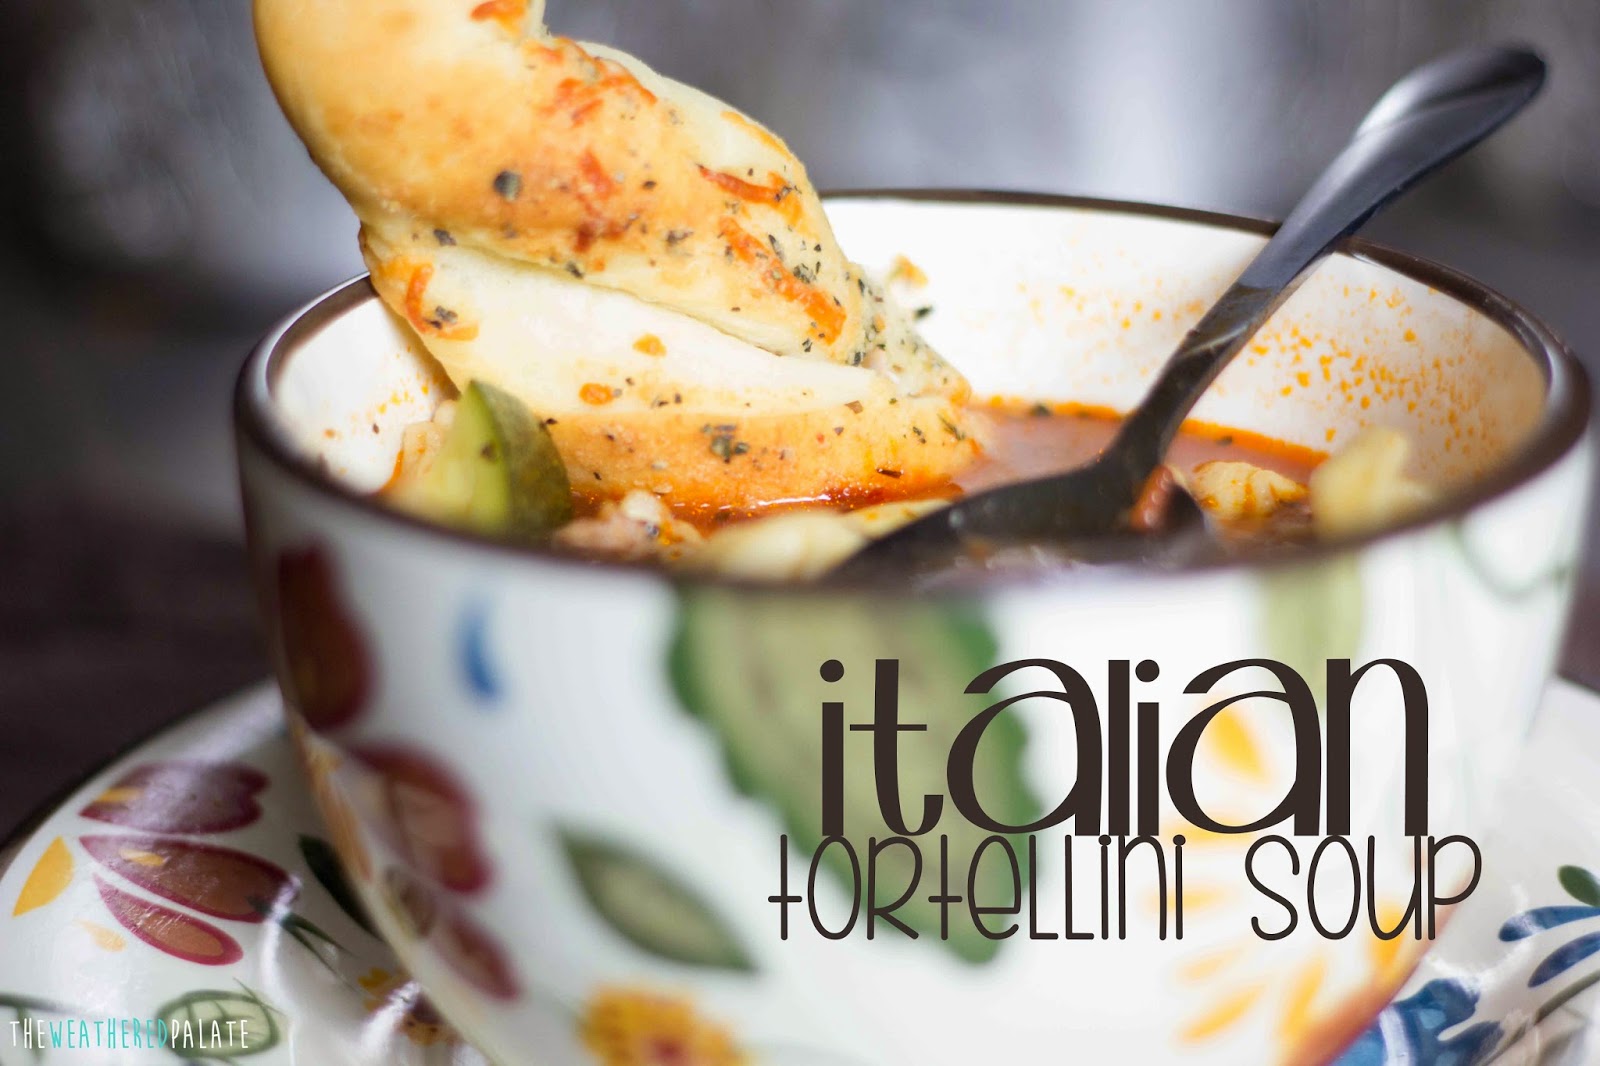
I served these bread sticks with my Spicy Italian Tortellini Soup.  A perfect combination for a cool fall evening!

http://www.theweatheredpalate.com/2014/09/spicy-italian-tortellini-soup.html