Monday, September 29, 2014

Our Life Map {on Canvas}


My father-in-law was an Air Force meteorologist for 23 years.  He enlisted at 18 and over the course of his career was promoted to Senior Master Sergeant, the second highest an enlisted man can go.  We're so proud of him! 

Of course with a military life comes lots of moves.  My mother-in-law worked so hard to make every place they moved to a home.  Those who are military wives know exactly how hard it can be to do that!  Know that you're not alone, thousands have walked the same path before you and even more will follow in your footsteps. 

They created as many memories for Ryan and his sister as they could in each place that they lived.  Now that they have retired and settled down, my MIL wanted to pay tribute to each place that they lived, where they met and where their kids were born.  How special, huh?

First, she painted the edges of canvases in a color complimentary to her wall color.  Then she modge podged maps that she had torn from an old atlas.  She bought a package of little wooden arrows and people from her favorite craft store and painted them before gluing them on to the map.  The blue arrows represent the Air Force and the green represent the army.  (My MIL wore combat boots!  That's how she and my FIL met). Then she used stamping ink to smudge the edges of the map giving it a worn look.


What I love most about projects like this is that no one project will look the same. We all have different lives we have lived and paths we have walked as well as differerent decorating styles! Someone may choose to make this on pieces of wood or frame them in a shadow box. If you can't find an atlas, Barnes and Noble sells a ton of different maps in their travel section. 

Whether you use canvas, maps, stickers or wooden arrows, I hope you have fun making this project and remembering all the memories you have created each place you have lived! 

Where we've been, makes us who we are! 


Focaccia Bread Sticks


I can't believe I don't make these more often.  I mean, just look at them!  Perfectly golden and packed full of flavor all to be dipped in a delicious marinara or Tortellini Soup. Let's cut to the chase.  I don't need to keep talking about how incredible they are.  You just want the recipe.

Focaccia Bread Sticks

Ingredients:

3/4 c warm water
3 tablespoons of milk
3 cups of bread flour
3 1/2 tablespoons of sugar
1 teaspoon salt
3 tablespoons of melted butter
1 1/2 teaspoons instant dry yeast

Topping:
1/3 cup of olive oil
1/4 cup Parmesan cheese
1 tsp garlic
1 teaspoon Italian Seasoning

Directions:

This recipe yields 10-12 foot long bread sticks.

1.  In the bowl of a stand mixer, add water, yeast and sugar.  Stir to dissolve yeast and sugar and let sit until yeast activates (you will see the yeast foam and rise to the top-about 5 minutes).  If the water is too hot or cold, the yeast will not activate.
2.  Pour in one cup of flour, milk, butter and salt.  (Do not pour the hot butter and salt directly on top of yeast mixture.  Pour in the order stated.)  Mix for 1 minute.
3.  Slowly add remaining flour, scrape down the sides of the mixer mix with dough hook for 2-3 minutes.
4.  Dough should be soft and slightly sticky.
5.  In a greased bowl, put the dough and cover with plastic wrap and allow to rise in a warm area for 1 hour.
6.  After the dough has doubled in size, roll out out into rectangle (about 1/2 inch thick) and cut into 1 inch strips using pizza cutter.
7.  Take each strip and cut a slit down the middle one inch from the top and stopping one inch from the bottom (see pictures below).
8.  Twist each bread stick and place on a cooking sheet.  Cover and let rise for 20 minutes.
9.  Mix topping ingredients together and spread on top of bread sticks.
10.  Bake in a 400 degree over for 15 minutes.

Variations: top with olive oil, garlic and cheddar cheese for garlic cheddar bread sticks.


Slit each bread stick down the middle making it easier to twist.


They are like little Italian pillows of heaven.


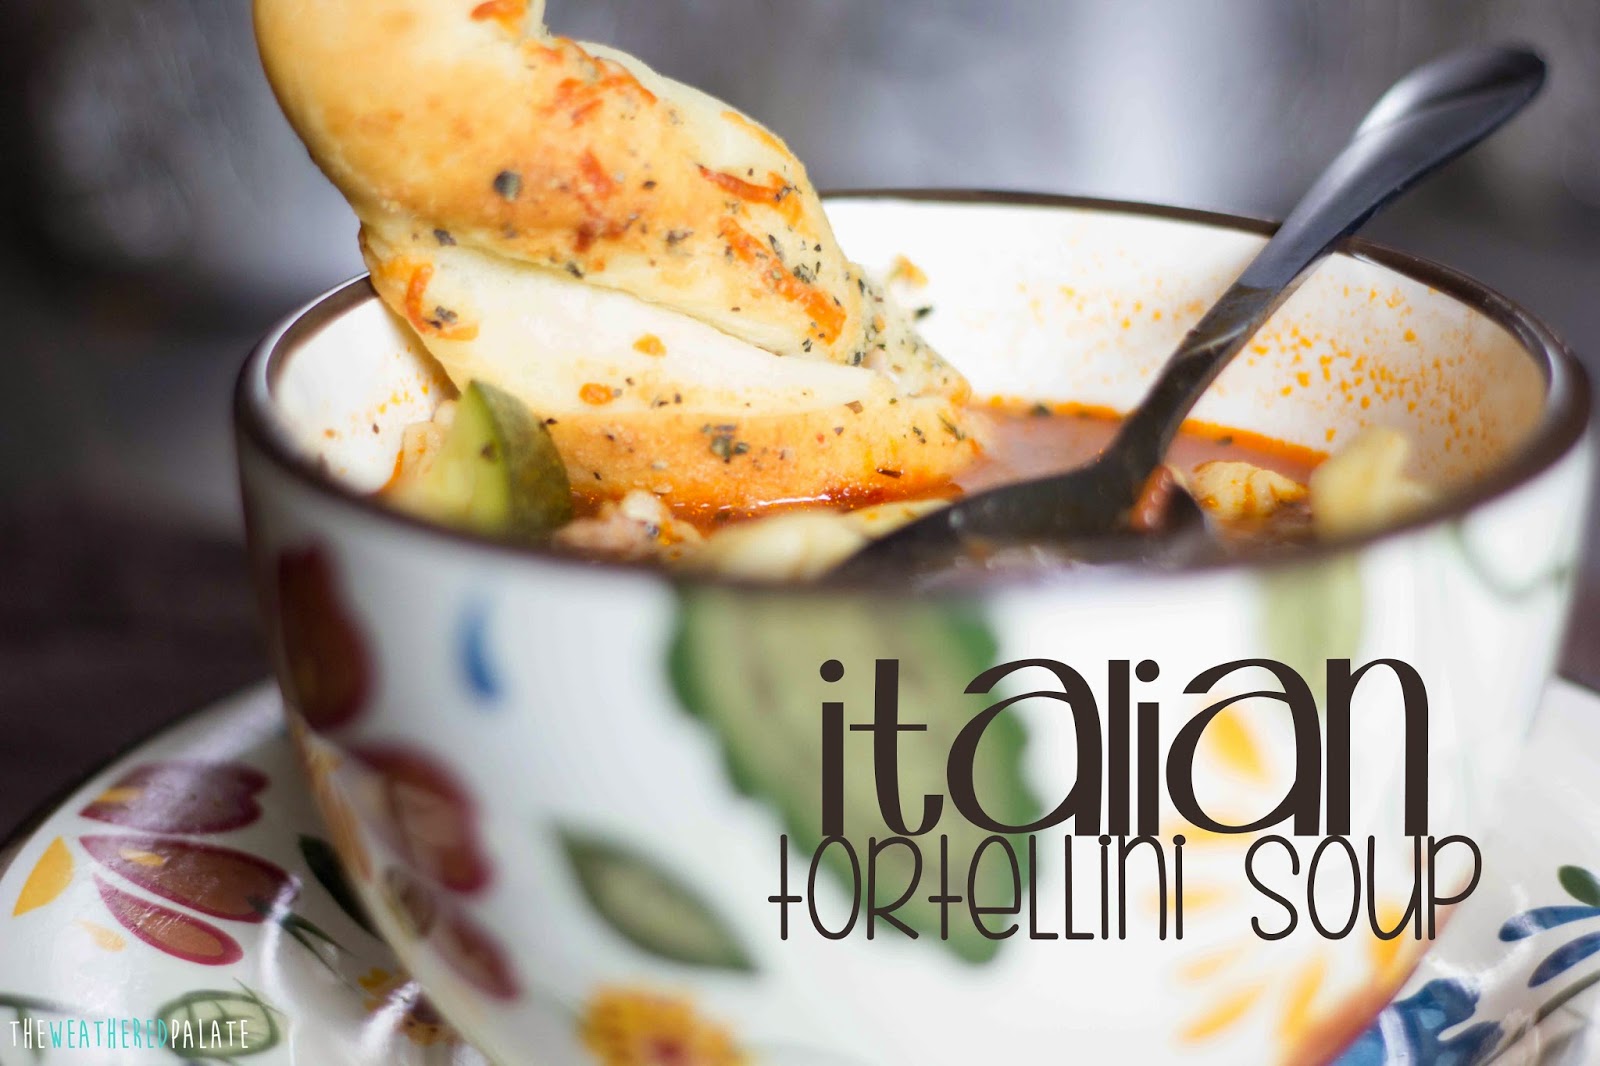
I served these bread sticks with my Spicy Italian Tortellini Soup.  A perfect combination for a cool fall evening!

http://www.theweatheredpalate.com/2014/09/spicy-italian-tortellini-soup.html


Spicy Italian Tortellini Soup


I don't think this soup could be easier or more perfect for fall.  This is #2 on my Fall Soup Bucket List!  I mean, look at it!  And that bread stick.  I can't get over it.

One of my best college Gal Pals made this for me for my birthday one year and I've made this soup every winter since then.  Of course, you're more than welcome to make it in the spring or summer but nothing says fall like good soup, right?  And pumpkin.  And apples.

Spicy Italian Tortellini Soup

Ingredients:

1 pound of spicy Italian turkey sausage
1 cup diced onion
2 cloves fresh garlic, minced
64 ounces of beef stock
4-5 small-medium carrots, diced
1 large zucchini, diced
1 16 ounce can of diced tomatoes
1 8 ounce can of tomato sauce
1 10 ounce bag of cheese tortellini
2 tablespoons of Italian seasonings

Directions:

1.  In a dutch oven, saute onions and garlic for 1-2 minutes and then add spice Italian sausage.  Take the sausage out of the casing before adding to the pot.  Break the sausage up into small chunks and cook for 4-5 minutes.  The sausage doesn't have to be completely cooked before adding the rest of the ingredients because it will continue to cook.
2.  Drain most of the fat off by tipping the pot to one side and using a spoon to scoop out the fat.
3.  Add beef stock, tomatoes and spices.  Bring to a low boil and simmer for 5-10 minutes.
4.  Add diced carrots and continue simmering for another 5-10 minutes.
5.  Add zucchini and tortellini and simmer until pasta is cooked.  Because it's fresh pasta, it won't take long to cook at all.

Top with Parmesan cheese and serve with focaccia bread sticks.

You will probably be like me and think that 10 ounces of tortellini isn't enough and buy the 20 ounce package and add the whole thing.  Well, 10 ounces is enough my friend.  Take it from me.  When I dug into the leftovers, there wasn't very much broth left because the pasta soaked it all up! haha, but I just added more broth and it was still just equally delicious.

It actually isn't super spicy but could be even more so if you add red pepper flakes or you can tame it down all the way by using sweet Italian turkey sausage instead.


Look how chunky.  Raise your hand it you like chunky, heart soup!


Me! I do!


Friday, September 26, 2014

Toddler Snack Attack: Apples and Peanut Butter Dip


Forget the apple.  I eat this dip by the spoonful.   My little guy loved this stuff, he was more enamored with it than the apples, go figure.

We had leftovers from a parfait we made for my father in law's 60th surprise birthday party and I could not let it go to waste.  What goes better with peanut butter than apples?  This combination can be described in one word: fall.  What more of a description do you need?  Go.  Make it, now.

Peanut Butter Dip

Ingredients:

4 ounces of cool whip
8 ounces of room temp cream cheese
1/4 cup of peanut butter

Directions:

Combine ingredients and mix until smooth. 

If you soften cream cheese in the microwave, it'll be lumpy so please let it come to room temperature on it's own!

After this dip has chilled, the texture is like a fluffy nougat, that you can't stop eating.

You can easily make a "diet" version of this dip if you so choose. 


Thursday, September 25, 2014

Blueberry and Honey Parfait


I do realize that this is not a new concept.  However, I felt that it was necessary to document the fact that I ate breakfast this morning.  I can't remember the last time I ate my own breakfast.  I usually just eat the first few bites of The Toddler's breakfast because there just isn't time.  Those of you with little ones know that you have a limited window to get out the door, if you don't, you're staying home.  But not today.  Today I triumphantly and victoriously made (and ate) my own breakfast.  Yes, those adverbs are necessary. 

Blueberry and Honey Parfait

Ingredients:

plain greek yogurt
granola
honey
blueberries
sprinkle of cinnamon

Directions:

Drizzle honey in the bottom and on the sides of a jar.  Layer yogurt, granola, blueberries and sprinkle with cinnamon. (I'm of the notion that something automatically tastes 100 times better in a mason jar).

My favorite type of greek yogurt is Fage.  It's really palatable and doesn't taste so much like a grainy sour cream.  If you absolutely despise plain greek yogurt, use plain yogurt.  The point is to allow the honey to sweeten it without lots of unnecessary sugar.  I used clover honey but if you have access to good local honey go for it!

Don't forget the cinnamon.  I've recently been on a cinnamon and honey kick.  With yogurt, cream cheese, peanut butter...oh especially peanut butter.  It'll make you say, "hello where have you been all my life?" 


Wednesday, September 24, 2014

Broccoli Cheddar Soup


Do you have a Fall Soup Bucket List?  Well, I'm starting one and this is #1.  This is not Broccoli Cheese soup, this is Broccoli CHEDDAR soup.  Tillamook Sharp Cheddar to be exact.  Is there any other kind of cheese to use?  Please don't buy the cheap generic cheese because it's on sale.  It will ruin this soup.

I was sick a few weeks ago and was craving this soup and I haven't been able to get it off my mind.  We had my in laws over last night to feast upon this delicious soup and sandwiches made on sour dough bread.  No, I didn't make the bread, Kneader's did.  The pairing was naturally out of this world.  The soup was hearty with big chunks of broccoli and carrots with velvety cheddar cheese weaving it's way into every bite.  Good description, huh?

Broccoli Cheddar Soup

Ingredients:

2 T butter
3/4 onion, diced
5 T flour
1/3 cup white wine
64 ounces chicken broth
2 cups half and half
1 pound of shredded cheese, off the block
3 heads of broccoli
5 medium carrots, diced
1 T ground mustard

Directions:

1.  In a dutch oven, melt butter over medium-low heat and saute onions until translucent.
2.  Add flour and stir until all the onions are coated.  Meanwhile, prepare broccoli and carrots. Cut broccoli into little florets, discarding the large stems.  Chop into small pieces.  Dice the carrots by slicing the carrot lengthwise into half moons, then into quarters.  Run your knife through to dice into quarters.  Do not add yet.   
3.  Pour in white wine and stir.
4.  Add in all the broth and bring to simmer, about 3 minutes.  Broth should thicken as it cooks.
5. Add broccoli and carrots and season with salt and pepper. Simmer on low for 5-10 minutes.
6.  Pour in half and half and cheese.
7.  Season with ground mustard.  Let simmer for 15 minutes until the vegetables have soften and cheese has melted.  Don't get carried away, there's milk and cheese in it and it as burn potential...not that I would know...


(How many ways can you take a picture of a bowl of soup?)

"Mmmm, noodle soup.  I mean soup!  I mean noodle soup!" -Joey

Monday, September 22, 2014

Chocolate Cupcake with Salted Caramel Frosting


Because who doesn't love a perfectly delicious, moist, chocolate pillow of cake with homemade salted caramel frosting on top?  I can't think of a better use of time than to whip up a batch of these for my sister's best friend.  Laurie has battled cancer for a few years and has had multiple surgeries...and multiple hospital bills.  The cancer keeps coming back and she keeps fighting.  

Jesterz Improv is hosting a fundraiser for her and 100% of the ticket sales will help her pay hospital bills.  Laurie is a regular at Jesterz and they have no problem jumping on board to help her.  Along with a night of side splitting comedy, she is also having a bake sale, which is where these cupcakes come into play.  Whether you're bake salein' it, birthday bashin' or celebratin' the fact that it's Thursday, these cupcakes are a must bake.  (Go ahead and pin it).  

But these cupcakes, are for cancer.


The cupcakes have to be individually wrapped for the bake sale so I bought small plastic cups and put the cupcake inside then taped another one upside on top.  I made these labels to secure one side of the cup and used a small piece of clear tape to secure the other side.  Warning: frost the cupcake after placing the cupcake in the cup, otherwise you'll make a mess of the frosting.  Serve with a spoon or fork.


I found this incredible chocolate cake recipe.  I've always wanted a perfect chocolate cake recipe that makes everyone go, "THAT'S HOMEMADE?" and now I have one!  To share or not to share...SHARE!  Hershey's literally has the best chocolate cake recipe.  It's called "perfect chocolate cake" because it is.  Of course, I made a little tweak.  Right, I know the recipe says it's perfect but I just can't leave things alone.

Chocolate Cupcakes

Ingredients:

  • 2 cups sugar
  • 1-3/4 cups all-purpose flour
  • 3/4 cup HERSHEY'S Cocoa
  • 1-1/2 teaspoons baking powder
  • 1-1/2 teaspoons baking soda
  • 1 teaspoon salt
  • 2 eggs
  • 1 cup milk
  • 1/2 cup vegetable oil
  • 2 teaspoons vanilla extract
  • 1 cup hot coffee  <----- tweak
Does it need the coffee?  No.  Should you add the coffee instead of boiling water?  Yes.  

Directions:

1.  Stir dry ingredients together.
2.  Add eggs, milk, oil, vanilla and mix until combine.
3.  Pour in coffee and mix together, scraping down the side of the bowl.  (batter is thin)
4.  Pour 1/4 cup of batter in cupcake pans.
5.  Bake at 350 for 20-25 minutes. 

Yes!  It's that easy!  And the frosting is just as easy though it can be time consuming.

Salted Caramel Frosting

Ingredients:

1 lb. of butter
1 1/2 cup caramel*
1 cup of powdered sugar
1/2 t vanilla
1/2 t salt 

*To make the caramel, peel off the wrapper of 2 cans of sweetened condensed milk.  DO NOT OPEN.  Put in a large pot and cover with water.  Boil for 3 hours, adding water as it evaporates.  After 3 hours, remove the cans and let cool completely. 

OR

You can make homemade caramel which is less time consuming but a little tricky. (I've made this before.  It's knock your socks off amazing)

OR

I'm sure you can use store bought caramel or melt down caramels, but why?

Directions:

1.  Whip butter for 30 seconds on high.
2.  Add caramel and vanilla and whip for another 30 seconds.
3.  Slowly add powdered sugar and salt.  Continue whipping for another minute or so.

Frosting should be light and fluffy and should hold it's shape when you lift the beater out of the bowl.  If it needs to be stiffened, add more powdered sugar.

Pipe or spread frosting onto cupcakes.


Lemon Blueberry Cheesecake Trifle


These babies made the dessert table at my father-in-law's surprise 60th birthday party!  He is a lemon fanatic so we had to have something with lemon in it.  The cheesecake filling is perfectly lemony and the pound cake and streusel are simply divine.  I'm so glad that we found these on Pinterest!  Bitchin Kitchen nailed this recipe!


The cheesecake filling is so delicious!  We spread the leftover filling on graham crackers.  Mmm...


Oh man, look at those desserts!  Some of the best I've tasted!